Motorcycle Stunt Progression Guide: Complete Learning Roadmap (2026)
By 6FOOT4HONDA · 16 min read · Mar 5, 2026
This post may contain affiliate links. We only recommend gear we'd use ourselves. If you click a link and make a purchase, we may earn a small commission at no extra cost to you.
In This Article
Learning to stunt a motorcycle is not about watching one YouTube video and sending it in a parking lot. It is a structured skill progression where each phase builds on the last. Skip a phase and you will crash harder, learn slower, and develop bad habits that take months to unlearn. Follow the roadmap and you will progress faster than 90% of riders who wing it.
This guide breaks stunt riding into nine phases with realistic timelines, session structures, and the specific techniques that actually matter at each stage. Whether you are on a dedicated stunt bike or your daily rider, the progression is the same.
Learn stunts in this order: clutch-ups, then balance point wheelies, then slow wheelies, then 12 o'clock rides, then circles. Expect 6-12 months of consistent practice before you can ride a comfortable balance point wheelie.
Take an MSF course first if you have not already. Before you learn to stunt, you need to know how to ride. Basic throttle control, braking, clutch feel, and low-speed maneuvering are prerequisites, not optional extras. The MSF Basic RiderCourse teaches all of this in a weekend and makes your stunt progression dramatically faster because you are not fighting the fundamentals while trying to learn tricks.
Phase 0: Bike Control Fundamentals (Week 1-2)
You are not stunting yet. You are building the muscle memory that every stunt depends on. This phase feels boring. Do it anyway.
Rear Brake Awareness Drill
Your rear brake is your life insurance in stunt riding. It brings wheelies down, controls stoppie exit, and saves you from loops. Most street riders barely use their rear brake. Stunt riders use it constantly.
The drill: Ride in a straight line at 10-15 mph in first gear. Cover the rear brake with your foot at all times. Practice feathering it — light pressure, heavy pressure, quick taps. Do this until your foot goes to the rear brake instinctively, without thinking. You want the rear brake to feel like a natural extension of your right foot.
Spend at least 30 minutes per session on this drill alone for the first week. It is not exciting. It will save you from looping your bike when you start wheelies.
Slow Speed Clutch Control
Ride in first gear at walking speed using only the friction zone — that narrow band where the clutch is partially engaged. No throttle. Just clutch. Control your speed entirely with clutch engagement and the rear brake.
This teaches you the exact feel of your clutch engagement point, which is critical for clutch wheelies later. Every clutch is different. You need to know yours blindfolded.
Figure Eights
Set up two markers about 20 feet apart. Ride continuous figure eights around them at low speed. Focus on smooth transitions, consistent lean angle, and looking where you want to go — not at the ground in front of your wheel.
Figure eights build low-speed balance, body positioning awareness, and comfort with the bike leaned over at slow speeds. All of these translate directly into circle wheelies later in your progression.
Phase 1: Front Wheel Hops (Week 2-4)
This is the first thing that actually looks like stunting. Front wheel hops are small, controlled lifts of the front wheel using the clutch. The wheel comes up 6-12 inches and immediately comes back down.
Technique
- Roll at 5-10 mph in first gear
- Pull the clutch in slightly — just past the friction zone
- Blip the throttle to 4,000-5,000 RPM while simultaneously releasing the clutch quickly
- The front wheel pops up a few inches
- Immediately cover the rear brake
- The wheel comes back down on its own
You are not trying to hold a wheelie. You are practicing the clutch-pop motion that initiates every clutch wheelie. Think of it as a quick snap — pull, blip, release. One fluid motion.
What You Are Building
- Clutch pop timing and consistency
- Rear brake instinct (your foot should already be there from Phase 0)
- Comfort with the front wheel off the ground
- Throttle-clutch coordination
Session Plan
- 10-minute warmup (slow speed drills from Phase 0)
- 20-30 minutes of front wheel hops
- Focus on consistency, not height
- 20 hops per session minimum
- Cool down with figure eights
Common Problems
| Problem | Cause | Fix |
|---|---|---|
| Wheel barely lifts | Releasing clutch too slowly | Snap the clutch out faster — it is a quick release, not a gradual one |
| Wheel comes up jerky/violent | Too much throttle | Drop the RPM. You need less throttle than you think |
| Stalling the engine | Clutch pulled in too far | Stay closer to the friction zone — you only need to pull in slightly past engagement |
| Terrified of looping | Normal | Your rear brake is right there. One tap and the front comes down immediately |
| Front end slams down hard | Death grip on handlebars | Relax your arms. Let the front end come down naturally |
Phase 2: Sustained Small Wheelies (Week 4-8)
Now you are holding the front wheel up. Not at balance point — just up. You are riding wheelies at a low angle, maybe 30-45 degrees, for 50-100 feet at a time. The rear brake is your best friend here.
Transition to Clutch Wheelies
The front wheel hops from Phase 1 taught you the clutch pop. Now you are going to do the same motion but follow it with throttle to sustain the wheelie instead of letting it drop immediately.
- Roll at 10-15 mph in first gear
- Clutch pop — same motion as Phase 1
- As the front lifts, feed in steady throttle to hold the angle
- Ride it out for as long as you can maintain the angle
- When it starts dropping, either feed more throttle or let it come down gently
- Rear brake to bring it down if you get uncomfortable
Throttle Modulation
This is where most people struggle. The tendency is to either give too much throttle (front shoots up, you panic) or too little (front drops immediately). The key is steady, progressive throttle — not a jab. Think of it as pouring water from a pitcher. Smooth and controlled.
Your throttle hand is doing two jobs simultaneously: maintaining RPM to hold the angle, and making micro-adjustments to keep the front wheel at a consistent height. This takes hundreds of repetitions to develop. There are no shortcuts.
Session Plan
- 10-minute warmup (front wheel hops to dial in your clutch pop)
- 30-40 minutes of sustained wheelie practice
- Focus on distance, not height — try to hold the wheel up for longer each attempt
- End every wheelie with a controlled rear brake tap, even if the front is already coming down on its own
- Track your longest distance each session
Do not skip phases. If you cannot do 20 consistent front wheel hops in a row, you are not ready for sustained wheelies. If you cannot hold a small wheelie for 100 feet, you are not ready for balance point. Every rider who loops their bike and slides down the pavement on their back skipped a phase. The progression exists because it works. Trust it.
Phase 3: Finding Balance Point (Month 2-4)
Balance point is where the motorcycle sits in perfect equilibrium on the rear wheel — the exact angle where gravity pulling the front down equals the engine power pushing it up. At balance point, you need almost no throttle to maintain the wheelie. The bike just floats.
This is the hardest skill transition in stunt riding. Everything before this was controlled by throttle. Balance point is controlled by your rear brake and tiny body weight shifts.
Technique
- Start a clutch wheelie as you have been practicing
- Instead of holding a low angle, feed in more throttle to bring the front higher
- As you approach balance point (roughly 50-60 degrees depending on the bike), the bike will feel lighter — like it wants to stay up on its own
- At balance point, reduce throttle to just above idle
- Use the rear brake to control the angle — tap it to bring the front down, release it to let it rise
- Your body weight shifts forward and backward make fine adjustments
The Mental Barrier
Finding balance point requires riding past the angle where your brain screams "you are going to flip backward." This is a real psychological barrier and every single stunt rider has dealt with it. Your survival instincts are telling you the bike is too far back. Your rational brain knows the rear brake will save you.
The rear brake is instant. One press and the front wheel comes down. Period. You cannot loop if you use the rear brake. This is why Phase 0 drilled rear brake instinct so hard. At balance point, your foot lives on that brake.
The 12 O'Clock Bar
A 12 o'clock bar (also called a wheelie bar) bolts to the rear of your frame and prevents the bike from flipping past vertical. When you over-commit at balance point and the bike passes 12 o'clock, the bar hits the ground and stops the flip. Instead of your bike going over backward, it slides on the bar and you ride away.
You need a 12 o'clock bar before practicing balance point. This is not optional. It is not a suggestion. Without one, every time you slightly over-commit, you loop the bike, the tail hits the ground, and you are looking at hundreds of dollars in damage. With one, you bounce off the bar and keep practicing.
12 o'clock bars cost $60-$150 for most bikes and install in under an hour. It is the cheapest insurance in stunt riding. Read more about stunt bike costs to budget the full build.
Phase 4: Second Gear Wheelies (Month 3-5)
Once you can ride balance point in first gear, move to second gear. Second gear wheelies are actually easier to learn than first gear once you have the fundamentals.
Why Second Gear Is Smoother
First gear has a very short ratio. Small throttle changes create big RPM swings, which makes the bike twitchy and reactive. Second gear stretches the power delivery out, giving you more room for error. The wheelie feels more stable, more controllable, and less jerky.
Second gear wheelies also happen at higher speeds (20-35 mph instead of 10-20), which adds gyroscopic stability from the wheels spinning faster. The bike wants to stay upright more.
Technique Differences
- The clutch pop needs to be more aggressive — second gear requires more force to lift the front
- Entry speed is higher (20-25 mph minimum)
- Throttle modulation is less sensitive — the same twist produces a more gradual angle change
- Balance point feels wider — you have a bigger "window" to sit in
- Rear brake still saves you, same as always
Most stunt riders eventually do the majority of their riding in second gear. First gear is for learning. Second gear is for riding.
Phase 5: Burnouts (Month 3-6)
Burnouts are a different skill set from wheelies. They teach throttle control, clutch management, and how the rear tire behaves when traction breaks. They are also the most visually impressive trick you can do with the least technical skill.
Static Burnout Technique
A static burnout means the bike stays in one place while the rear tire spins and smokes.
- Stop the bike. Stay in first gear.
- Squeeze the front brake lever hard — this is what holds the bike in place
- Put both feet on the ground for stability
- Rev the engine to 5,000-7,000 RPM
- Slowly release the clutch while maintaining front brake pressure
- The rear tire breaks traction and starts spinning
- Modulate the throttle to control the smoke and intensity
- To stop, pull the clutch back in and release the throttle
The front brake is doing all the work of keeping the bike stationary. If your front brake is weak, the bike will creep forward instead of burning the tire. Make sure your front brakes are in good condition.
For a complete step-by-step breakdown with cost analysis and common mistakes, check out our dedicated burnout guide.
What Makes Burnouts Different
Burnouts use a completely different skill set than wheelies. Wheelies are about balance and brake control. Burnouts are about clutch finesse and throttle management. Doing burnouts teaches you how your clutch engages under load, how much throttle breaks traction, and how the bike reacts when the rear tire is not gripping. All of this information is useful for other tricks.
Phase 6: Stoppies (Month 4-8)
A stoppie (also called an endo or nose wheelie) lifts the rear wheel off the ground using front brake force. The bike pivots over the front wheel with the rear tire in the air.
Stoppies are the opposite of wheelies — instead of power lifting the front, you are using deceleration to lift the rear. They look incredible. They are also more dangerous than wheelies for one critical reason: there is no "rear brake save." If you over-commit on a wheelie, the rear brake brings you down. If you over-commit on a stoppie, the bike flips over the front and lands on top of you.
Prerequisites
Do not attempt stoppies until you:
- Can ride balance point wheelies confidently
- Have excellent front brake feel (can modulate between light and hard braking smoothly)
- Understand weight transfer and body positioning
- Are wearing proper gear (at minimum: DOT-certified helmet, gloves, boots, jacket)
Technique
- Roll at 25-35 mph in second or third gear
- Shift your weight forward slightly — chest closer to the tank
- Apply the front brake progressively — start light and squeeze harder
- As the rear lifts, maintain steady brake pressure to hold the angle
- To bring it down, release some front brake pressure
- The rear settles back down
The key word is progressive. You are not grabbing the front brake. You are squeezing it. A grab locks the front wheel and sends you over the bars. A squeeze lifts the rear controllably.
Why Stoppies Are Dangerous
With wheelies, going too far back means the rear brake or 12 o'clock bar saves you. With stoppies, going too far forward means the bike somersaults. There is no bar to stop it. Your only option is to release the brake and hope the rear comes back down before the bike tips past the point of no return.
Start with very small rear lifts — the tire barely clears the ground. Build height over weeks and months, not minutes. Patience here is not optional.
Phase 7: Circle Wheelies (Month 6-12+)
Circle wheelies are balance point wheelies ridden in a continuous circle. The bike is at or near balance point while you steer in a tight arc using body weight, rear brake, and throttle. They are one of the most visually impressive stunts and one of the hardest to master.
Prerequisites
You absolutely need the following before attempting circle wheelies:
- Comfortable at balance point in second gear for extended distances (500+ feet)
- Consistent rear brake control at balance point
- Can correct left-right drift while at balance point
- 12 o'clock bar installed and tested
- Good low-speed balance (this is where those Phase 0 figure eights pay off)
Simplified Technique
- Start a balance point wheelie in first gear
- Once stable at balance point, shift your weight slightly to one side
- Turn your head and look in the direction you want to circle
- The bike will begin arcing in that direction
- Maintain balance point with throttle and rear brake while the bike circles
- Use body weight to tighten or widen the circle
The reality is much messier than those six steps suggest. Circle wheelies require simultaneous management of throttle, rear brake, body position, and steering input — all while the bike is at balance point and turning. It is like juggling while riding a unicycle.
Reality Check
Circle wheelies take most riders 6-12 months of dedicated practice after they have already mastered straight-line balance point wheelies. Some riders take longer. A few naturally talented riders get it faster. Do not compare your timeline to anyone else's.
The most common mistake is trying to turn too tight too soon. Start with wide, gradual arcs. As you get comfortable, tighten the circle incrementally. A wide circle wheelie is still a circle wheelie.
Phase 8: Combos and Advanced (Year 2+)
Once you have the fundamentals locked in — balance point wheelies, stoppies, burnouts, circle wheelies — you can start combining tricks and learning advanced techniques. This is where stunt riding becomes truly creative.
Switchbacks
Transitioning from a wheelie directly into a stoppie (or vice versa). You are at balance point, set the front down with forward momentum, and immediately hit the front brake to lift the rear. It requires precise speed management and perfect brake timing.
Tank Stands
Standing on the tank while the bike is at balance point. Both feet come off the pegs and onto the tank while you maintain the wheelie with throttle and rear brake. This requires exceptional balance and confidence at balance point.
Seat Standers
Standing on the seat while riding. Usually done at balance point or during a controlled wheelie. Body position shifts dramatically and your center of gravity changes completely.
Highchair Wheelie
Sitting on the handlebars facing backward while the bike wheelies. Your back is to the direction of travel, and you control the throttle behind you. This is as wild as it sounds and requires extreme confidence in your balance point control.
One-Handed Wheelies
Exactly what it sounds like. One hand controls the throttle while the other is off the bars. Your body and rear brake do all the balance work. Start with quick hand removals and build up to sustained one-handed riding.
Coasters
Wheelies with the engine off. You build momentum, kill the engine at balance point, and coast on the rear wheel. No throttle control — just rear brake and body weight. The silence is eerie. The difficulty is extreme.
Full Progression Timeline
| Phase | Skill | Typical Timeline | Key Milestone |
|---|---|---|---|
| 0 | Bike control fundamentals | Week 1-2 | Instinctive rear brake, smooth slow-speed riding |
| 1 | Front wheel hops | Week 2-4 | 20 consistent hops in a row |
| 2 | Sustained small wheelies | Week 4-8 | 100+ feet at a consistent low angle |
| 3 | Balance point | Month 2-4 | Comfortable sitting at balance point for 200+ feet |
| 4 | Second gear wheelies | Month 3-5 | Balance point in second gear |
| 5 | Burnouts | Month 3-6 | Clean static burnout with thick smoke |
| 6 | Stoppies | Month 4-8 | Controlled rear lift to 45+ degrees |
| 7 | Circle wheelies | Month 6-12+ | Full 360-degree circle at balance point |
| 8 | Combos and advanced | Year 2+ | Switchbacks, tank stands, creative lines |
These timelines assume 2-3 practice sessions per week, 30-60 minutes per session. More practice compresses the timeline. Less practice stretches it. Skipping sessions for weeks at a time means you lose progress and have to rebuild muscle memory.
Recording Your Sessions
Film everything. Every single session. Set up a camera or have a friend record you. Here is why:
Progress tracking. You cannot objectively evaluate your own form while you are doing it. Video shows you exactly what your body is doing, what angle you are reaching, and where your technique breaks down. You will be shocked at the difference between what a wheelie feels like and what it looks like.
Motivation. On the days when you feel like you are not improving, go back and watch footage from a month ago. The difference will be obvious and it will remind you that progression is happening even when it does not feel like it.
Community. The stunt community is one of the most supportive in motorcycling. Post clips, ask for feedback, connect with other riders. Nobody is judging your small wheelies — everyone started there.
Insta360 X4
The best action camera for stunt riding. 360-degree capture means you never miss an angle — mount it on the bike and it records everything simultaneously. Reframe the shot after the fact to get the perfect angle. Invisible selfie stick mode makes it look like a drone is following you. Waterproof, shockproof, and the image stabilization is unreal even on rough parking lot surfaces.
Track your sessions in a notebook or phone app. Record the date, what you practiced, how many reps, your longest wheelie distance, and one thing you learned. This sounds obsessive but it works. Deliberate practice with tracking beats mindless parking lot laps every time. You will also be able to look back after six months and see exactly how far you have come.
The Honest Truth About Progression
Stunt riding progression is not linear. You will have sessions where you feel like a god and sessions where you cannot hold a wheelie for 20 feet. You will have breakthroughs followed by weeks of plateau. You will drop your bike. You will get frustrated. You will question whether you are built for this.
Everyone goes through this. Every stunt rider you see on Instagram throwing circle wheelies and switchbacks spent years in parking lots failing, dropping, repairing, and trying again. The ones who made it are not the most talented — they are the ones who kept showing up.
The cost of building a stunt bike is an investment in a skill that takes years to develop. Respect the timeline. Trust the progression. And go ride.
For a deep dive into the most fundamental stunt skill, read our complete how to wheelie a motorcycle guide. If you are still choosing your stunt platform, check out the best motorcycles for stunting.
EBC Clutch Kit
Your clutch is the single most used component in stunt riding. EBC makes heavy-duty clutch kits with stiffer springs and upgraded friction plates that handle the abuse of repeated clutch-ups without fading. Available for virtually every popular stunt bike. Replace your stock clutch with one of these before it starts slipping mid-session.
Frequently Asked Questions
What stunt should I learn first on a motorcycle?
Start with front wheel hops, which are small controlled clutch-ups where the front wheel lifts 6 to 12 inches and comes right back down. These teach you the clutch pop motion and rear brake instinct that every other stunt builds on. Do not jump straight to wheelies or stoppies without building these fundamentals first.
How long does it take to find balance point on a wheelie?
Most riders find balance point after 2 to 4 months of consistent practice with 2 to 3 sessions per week. Some riders get there faster and some take longer. The biggest factor is not talent but consistency. Riders who practice 3 times a week progress dramatically faster than riders who practice once a week or take long breaks between sessions.
Should I learn wheelies or stoppies first?
Learn wheelies first. Wheelies have a built-in safety mechanism: the rear brake. If you go too far back, one tap of the rear brake brings the front down immediately. Stoppies have no equivalent save. If you go too far forward on a stoppie, the bike flips over the front. Master wheelies and balance point before attempting stoppies.
How long does it take to learn circle wheelies?
Circle wheelies typically take 6 to 12 months of dedicated practice after you have already mastered straight-line balance point wheelies. They require simultaneous management of throttle, rear brake, body position, and steering input. Some riders take over a year. Start with wide arcs and gradually tighten the circle over time.
Can you learn to stunt without dropping the bike?
Realistically, no. Drops are part of the learning process. The goal is not to avoid dropping the bike entirely but to minimize the damage when it happens. Install crash protection like a crash cage, subcage, and 12 o'clock bar before you start practicing. With proper protection, a drop costs you zero dollars instead of hundreds. Every experienced stunt rider has dropped their bike many times during the learning process.
Written by
6FOOT4HONDAMotorcycle creator with 1.2M+ subscribers on YouTube and 2M+ across all platforms. Riding and filming since 2016, with 1,000+ videos covering beginner riding tips, gear reviews, stunts, and road trips. Every product recommended on this site has been personally tested on real rides — from highway touring to track days to stunt sessions. Based in the US, riding year-round.
Related Articles
How to Wheelie a Motorcycle (The Complete Guide)
Learn how to wheelie a motorcycle step by step — power wheelies, clutch wheelies, body position, rear brake control, and a week-by-week progression plan.
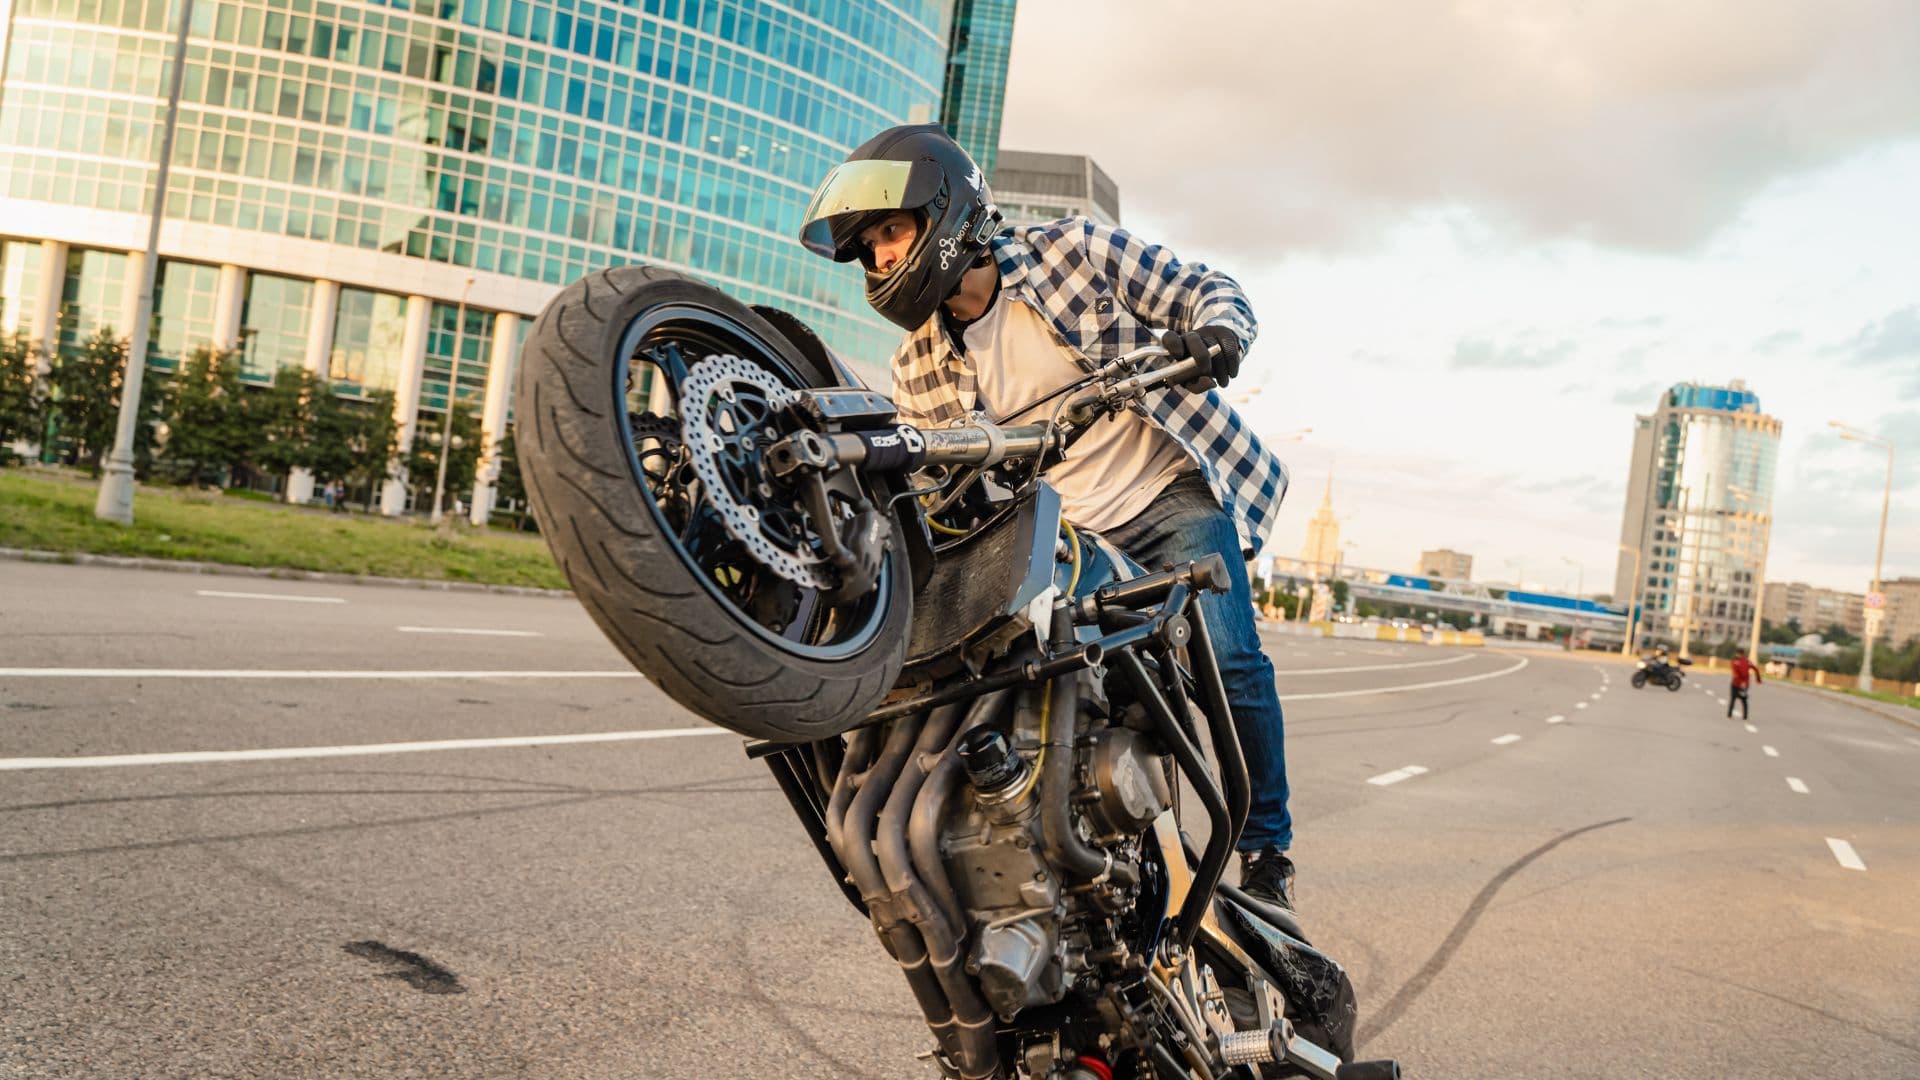
Are Wheelies Bad for Your Motorcycle? (What Actually Breaks)
Do wheelies damage your motorcycle? The real answer — what wears out, what breaks, what is fine, and how to minimize mechanical damage while learning to stunt.
Best Motorcycles for Stunting (9 Bikes Ranked by Budget)
The 9 best motorcycles for stunting ranked by budget tier — from $1,800 Groms to $6,500 MT-07s. Every bike evaluated on weight, parts availability, aftermarket support, and real stunt potential.